
For this
tutorial I had to do a modal of part of a car. To start with I put the main
editing screen into side view by pressing “Numpad_3”, then added the background
reference image as the background by pressing “N” clicking on background
images, add image then I selected the right image I needed in my files, and
changed the all views to right view.
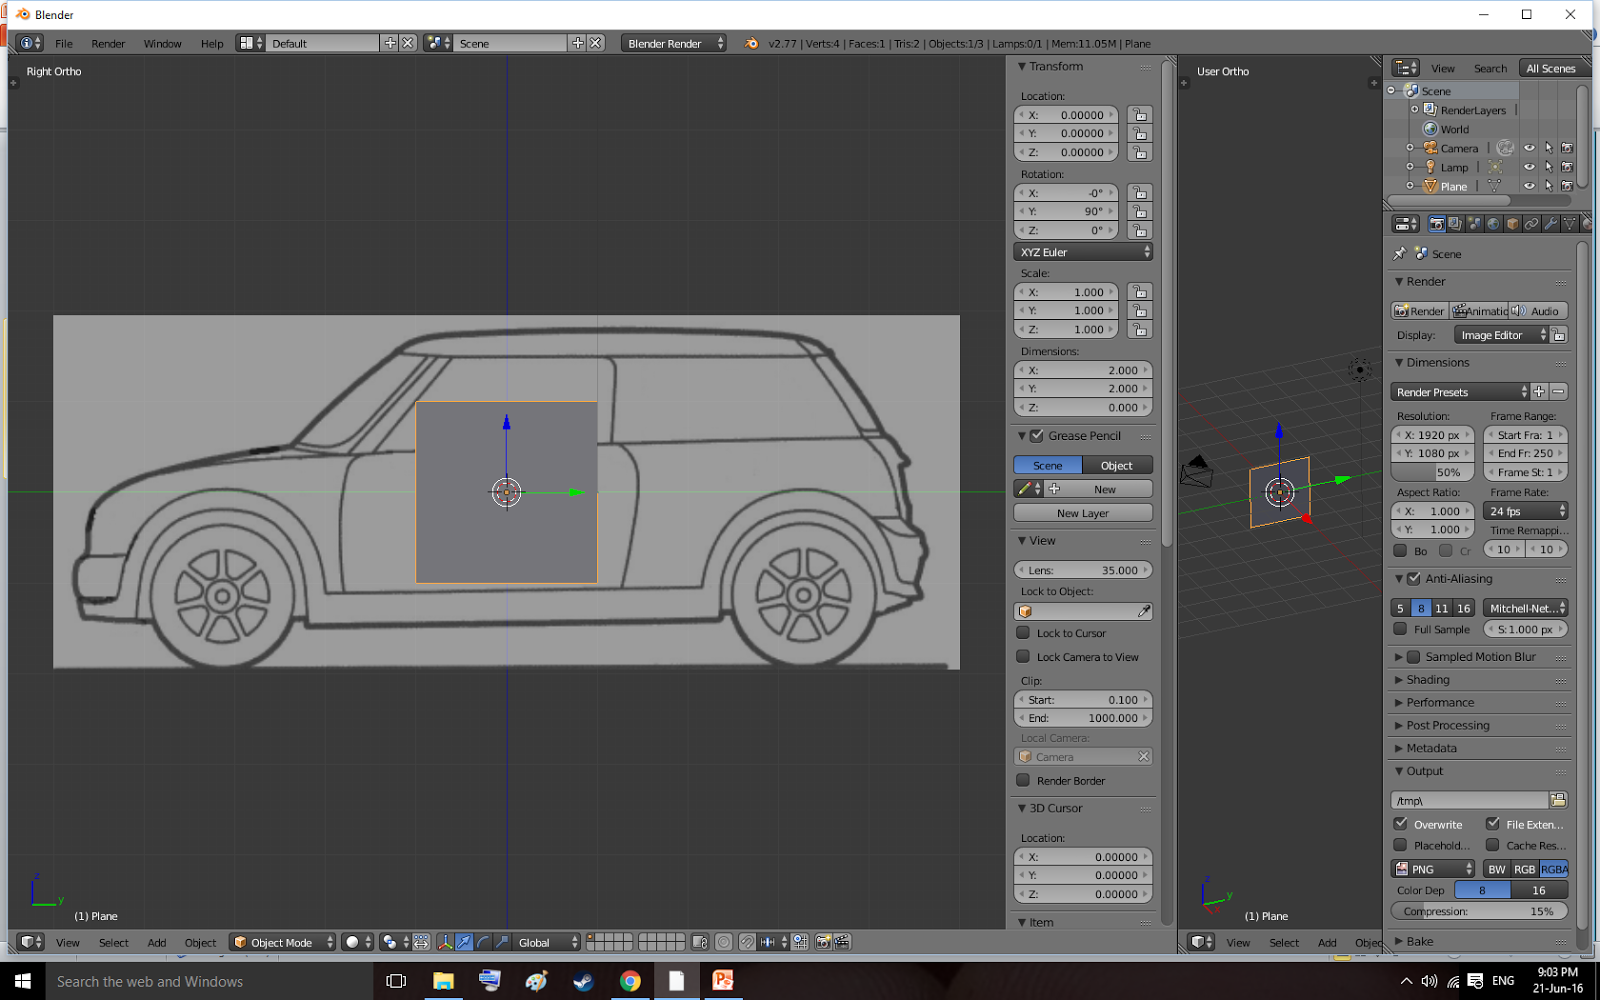
I then pressed “N” again to get rid of the side menu.
Then I started to create the care using edge modelling. I did this by making a
plane mesh and rotating it ninety degrees on the X axis, by pressing “Shift+A”
selecting the plane mesh, then to rotate it I pressed “R”, “Y” then typed ”90”
on the keyboard then “Enter”.

I moved the plane into the place I wanted to start. I then extruded the
two vertices to continue my way around the car till I got to the back door.

I then went around the rest of the car
extruding from the vertices I just made by
extruding the plane to fill the rest of the car in. To
make more faces to fill the car in I selected four vertices that mad a squere and
pressed “F” to create a face. I also made some of the edges smother by adding
edge loops by pressing “Ctrl+R”.

I then did the exact same thing for the top half of the car.

After I did the top part of the car I
started to fake the front. I
faked it because we didn’t get a front reference image. I did this by moving my
camera out of side view and looking at were the front of the car would be. Then
I selected a few of the vertices and started curving the faces in by dragging
the vertices around.

I continued to
curve the faces until the car started to look a bit more like a car. After I
finished curving the faces I extruded all the vertices around the outside of
the car to make the front of the car. I then lined up all the vertices I just
moved by pressing “S”, “X” then “0”.

I then
pressed “Ctrl+R” and
made two edge loops on the front of the car. I then started tweaking the
vertices to make it more of a car shape.

After I was happy with what that one side
of the car looked like I reflected it to make the other side of the car. To do
this I moved the inner edge of the car to the center and added the mirror
modifier. I then move the car so it would look normal and selected clipping to
make both sides stick together.

Once I
finished moving vertices to where I wanted them I added the modifier
subdivision surface, this smoothed the surface out a bit.

To make it a bit smoother I put the view
option to two. Then to get it even smoother I pressed “T” to bring up the tools
and I turned smooth shading on.

I then started adding a few features by
extruding and scaling down vertices. When
doing this I made the window screen, bumper and headlights.

I then made the side windows by doing basically the same thing but inserting
edge loops to make the windows more square.

Finally I rendered the modal and saved
the image.
No comments:
Post a Comment