
To start this tutorial I put my main screen to top
view by pressing “Numpad_7”, then I put the main screen on full screen mode by
pressing “Ctrl+Up_Arrow” on the keyboard.

I then added a nerbs curve by pressing “Shift+A”
going to curves and selecting nerbs curve.

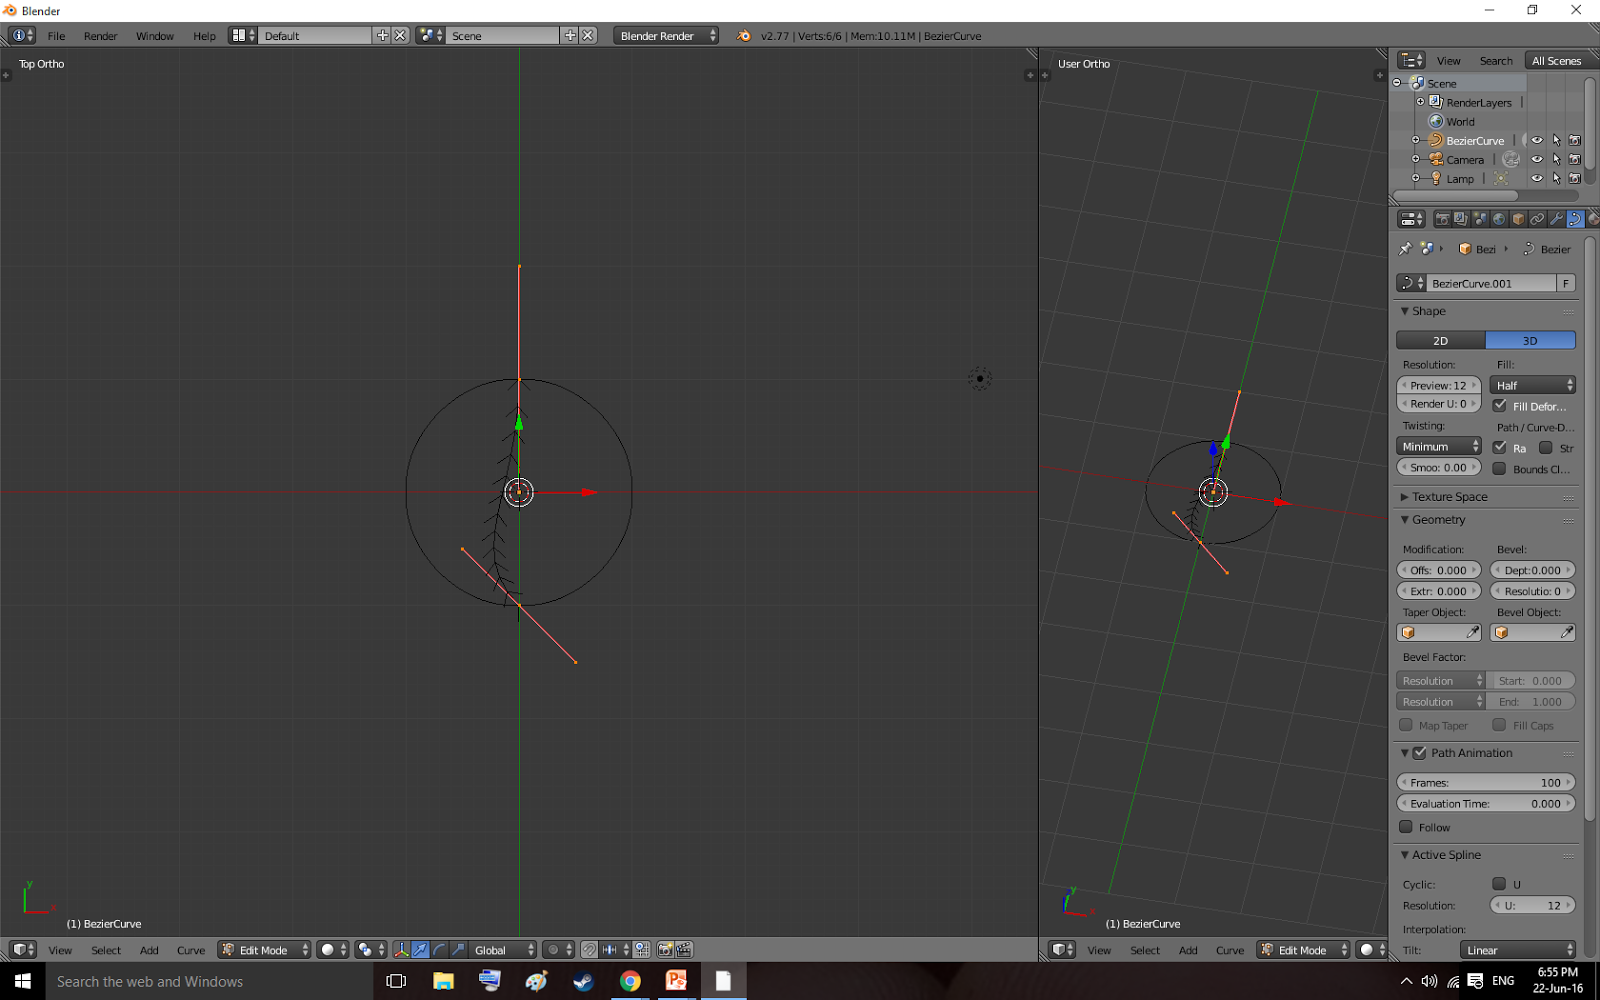
I then tabed into edit mode. I then extruded the
curve and made a circle, to make the circle I selected both
ends of the curve and pressed “F” to connect them.

I then brought back the other screen and
menu by pressing “Ctrl+Up_Arrow” on
the keyboard again. I then selected the
object data menu on the right that is only for curves.

I changed the fill to full. I also increased the depth to create a
tube like shape.

I then went back in to object mode and
made a new curve called a Bezier curve. I tabed back into edit mode and extruded the bezier curve and rotated some parts to see how this curve works differently to the nerbs curve.

After
messing around with the curves for a bit I started making something. This time
I started with a nerbs
circle and a bezier curve.
I then selected the bezier
curve and tabed back into edit mode. I rotated the bezier
curve ninety degrees by pressing “R”, “Z” then typed “90” in on the keyboard
and pressed enter.

I
tabed back
into object mode selected the nerbs cercal, went
to its property's, selected bevel object and chose bezier
curve. This made a funny shape because it took the length of the curve and
copied it around the cercal to make a shape. To show what I mean I rotated the bezier
curve ninety on the X axis and moved it to the side.

I tabed back
into edit mode and moved the top vertices of the bezier curve which also changed the shape of
the object I created.

I then changed the property's of the
curve buy selecting the last vertices and pressing “V” and selecting vector, to
gave that segment of the object a sharper edge. I then extruded it dragged it up then scaled it down a bit to make
a bowl like shape on the top of it.

I then
started all over again with a new nerbs circle. But instead of a bezier
curve I used a path and scaled it down to fit in the circle.

I selected the circle and changed its fill to full. Then I added quite a bit
of depth to the circle. I then made the circle into an oval by pressing “B” to
box select two of the vertices and moved them outwards, then did the same on
the other side.

I then bent in the each side of the oval slightly. Then I
duplicated it by pressing “A” to select all then “Ctrl+D” to
duplicate it. I moved the duplication to the side a bit and rotated it ninety
degrees on the X axis. Then I went back into object mode and increased the
depth a bit.

To continue the chain I added the array modifier, changed its X option to
0.75 and put the count up.

I then added another modifier called
curve, selected the object section and chose NerbsPath,
then set the fit type to fit curve and chose NerbsPath.

Finally I
selected the nerbs path
pressed “E” to extrude, then dragged it out and
extruded it again, and repeated this a few times, and because I linked the
chain and the nerbs path
together the chain follows the extrusions.
No comments:
Post a Comment